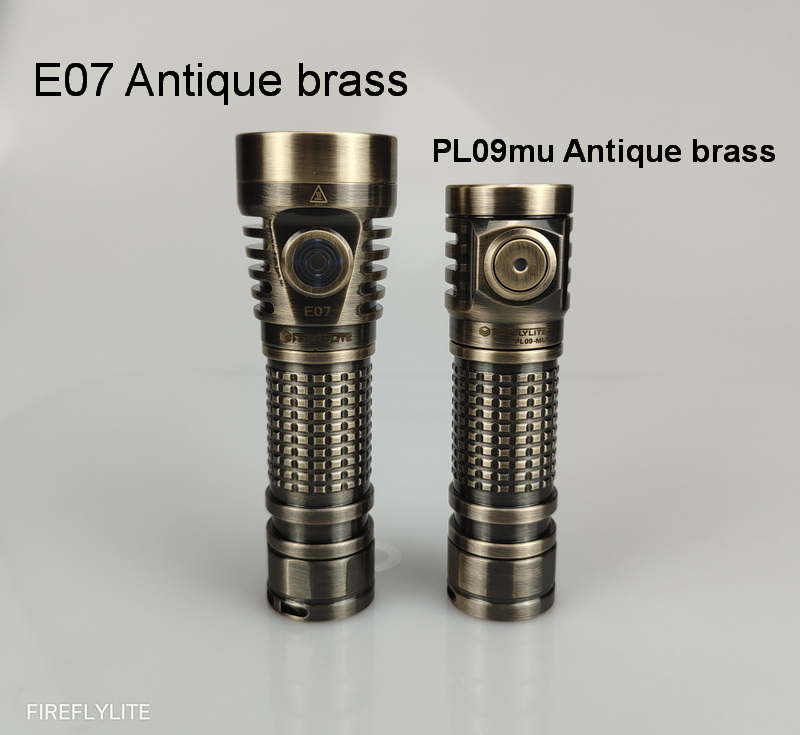
PL09MU Flashlight Reviews:
https://www.youtube.com/watch?v=PSPONZ4h16Y
Update: FireflyLite PL09MU started utilizing Anduril V2 UI since 2022 July 7th.
Note:
Aux led is Ice blue by default , Switch led is white by default.
If you choose Customer designated aux by adding extra 5usd, you can write the color you want in comment area when you place the order. We have Red / Orange/Purple/ Green for choice , Both aux leds and switch leds can be designated as you wish.
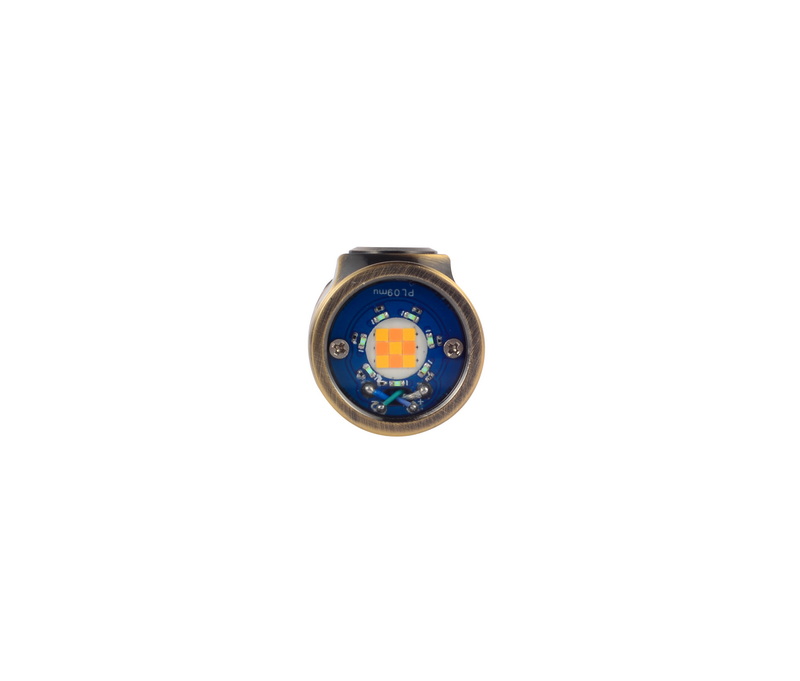
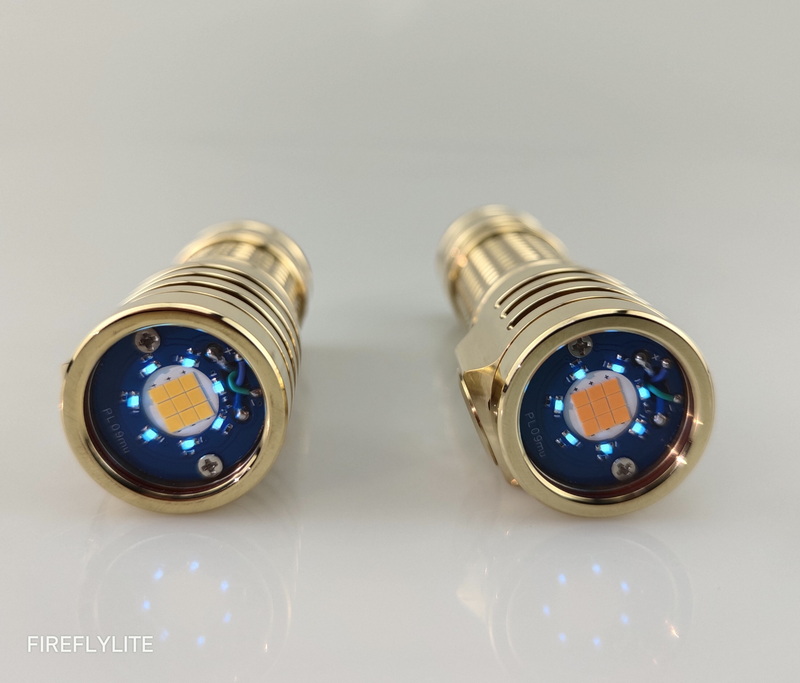
Eimiiter type:
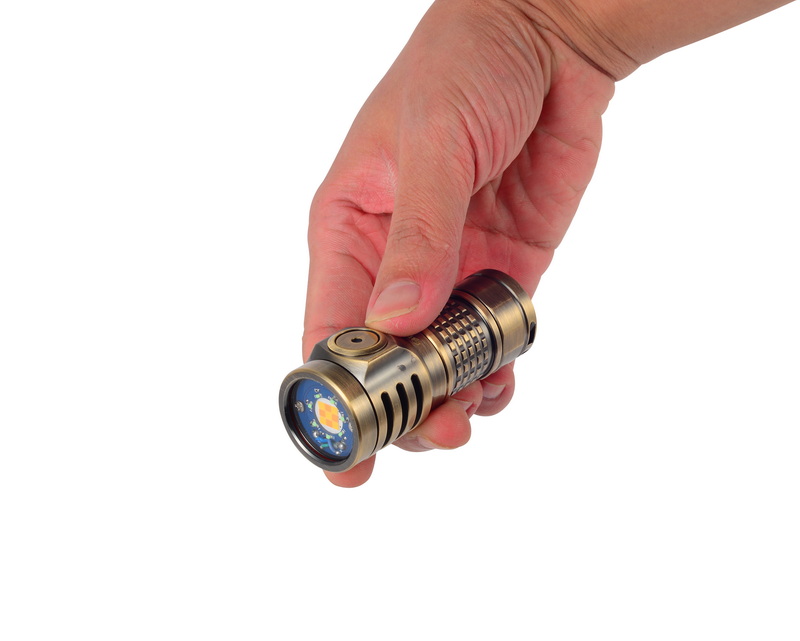
- 9x Nichia E21A R9080 CRI98 Max 2200lumens Mule
- Quad Optics 4x Nichia 519A CRI9080 4500 lumens
Product Description:
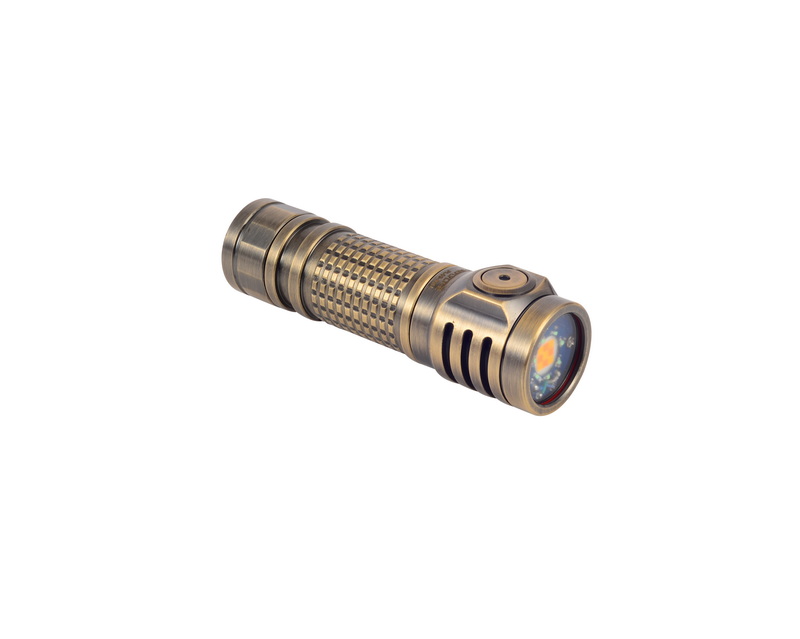
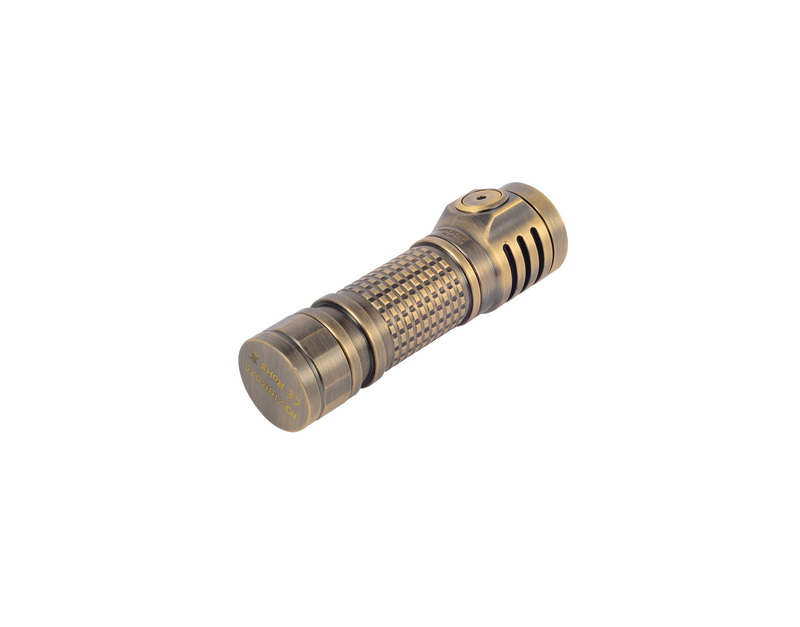
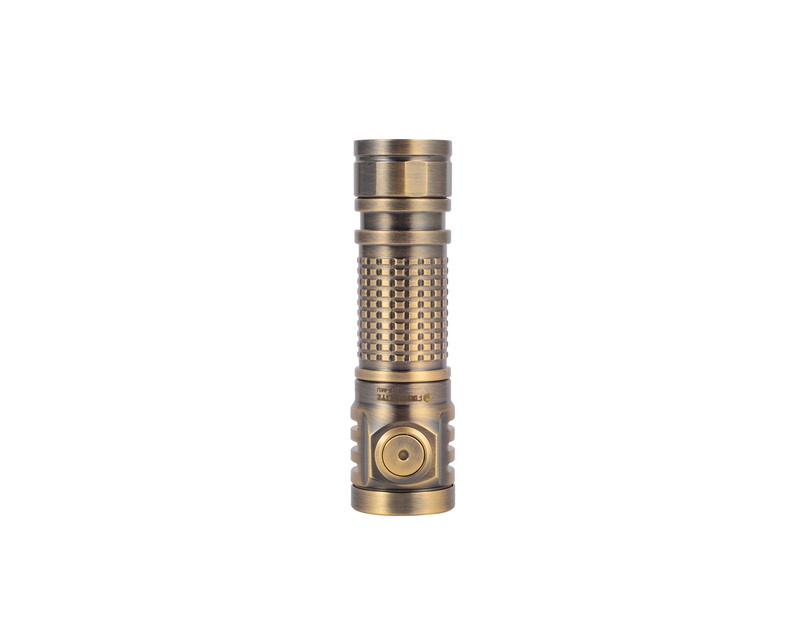
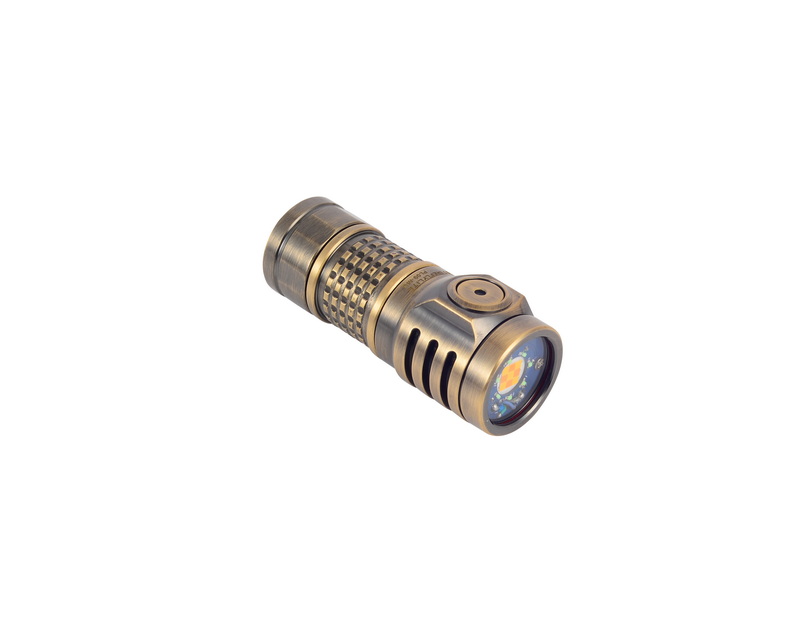
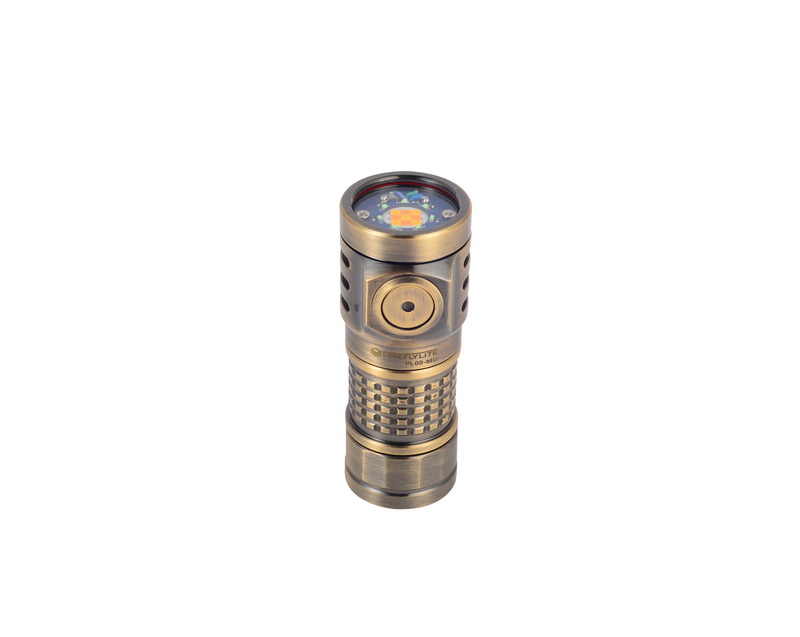
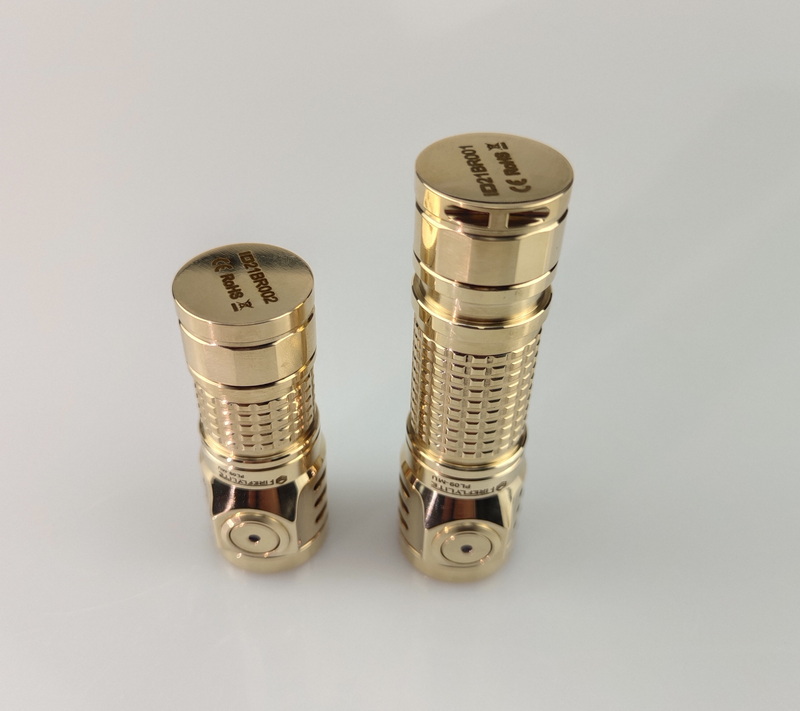
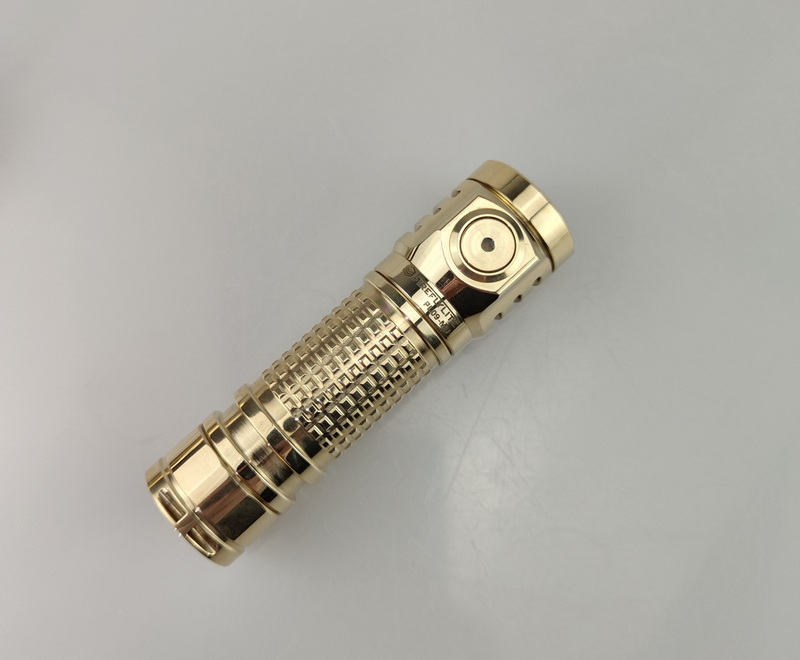
- Made of full Brass
- Body color: Polished Brass / Antique-color Brass
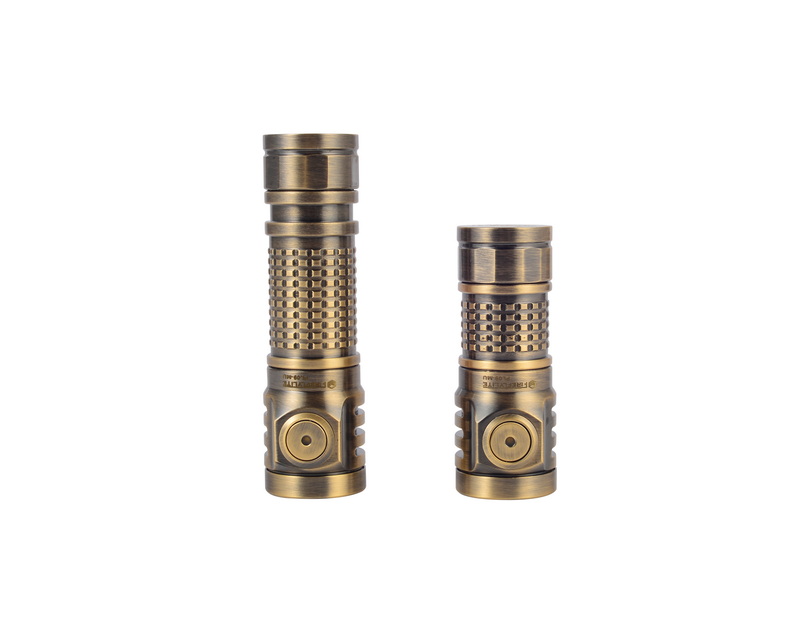
- 1x 21700 / 22430 with short body (Excluded)
- Digital current regulation on lower brightness
- IPX8 waterproof , underwater 2 meters
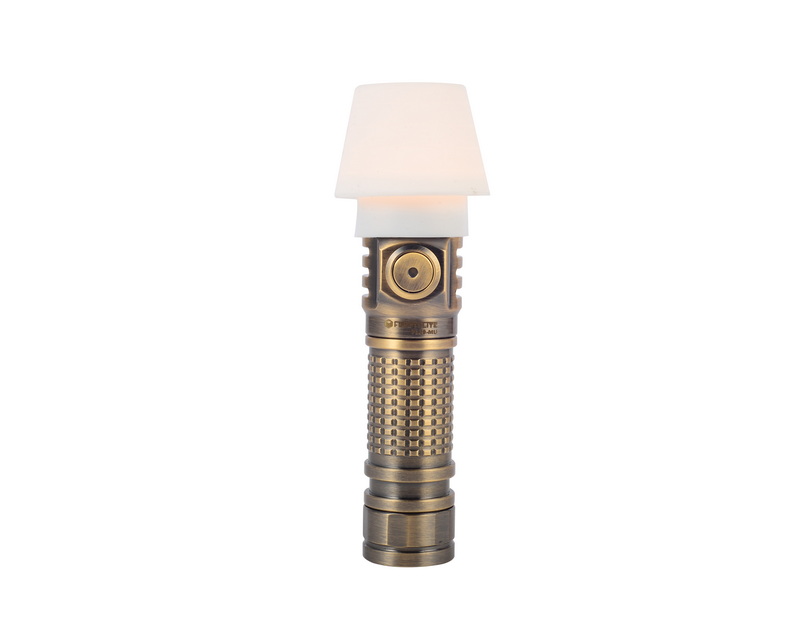
- with Aux leds --Ice blue ; with switch white LEDS (7-click to control aux leds)
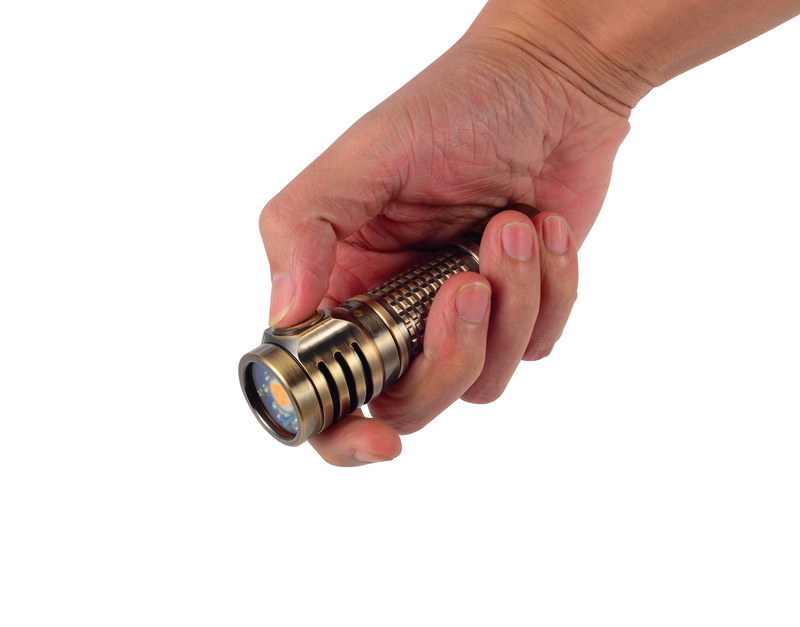
- Size: 98mm x 32mmx26mm body
- Weight: 130 gram
Accessories: ; standby O rings ; Gift box , Rubber light filter
Optional 22430 body with 22430 high-drain battery -- Extra 20usd, not included by default
If you want this EDC part, please add it in Accessories Option Box) ; Most 21700 or 18650 chargers can charge 22430 battery.
PL09MU UI Description
Operation Guide
The flashlight features the advanced open-source user interface firmware, Anduril2. For full details of operation, please see the detailed manual: http://toykeeper.net/torches/fsm/anduril2/anduril-manual.txt
At the first glance of the UI , most fresh users will feel confused with the UI, But in fact , you can operate the light as easy as other common flashlights. Just in case you want to try more functions , you need to spend some time to read the manual . If you do not need the advanced features, just do not use it.
Anduril2 has two different operating user-interfaces.
1. Simple UI -- Stepped 5-mode ramping default (Easy to operate for all fresh users)
2. Advanced UI (need to spend some time to read the manual carefully to try more functions)
Enter advanced UI to unlock all the features available. It is simple to switch between Simple and Advanced UI.
Note: Anduril2 has the capability to adjust battery voltage correction and temperature calibration. The NOV-MU flashlight comes with 1% voltage accuracy and +-1C temperature accuracy from the factory and does not need to be calibrated by the user.
Quick Start
After insertion of the battery and screwing on the end cap, the light will blink quickly once to confirm that it is operational.
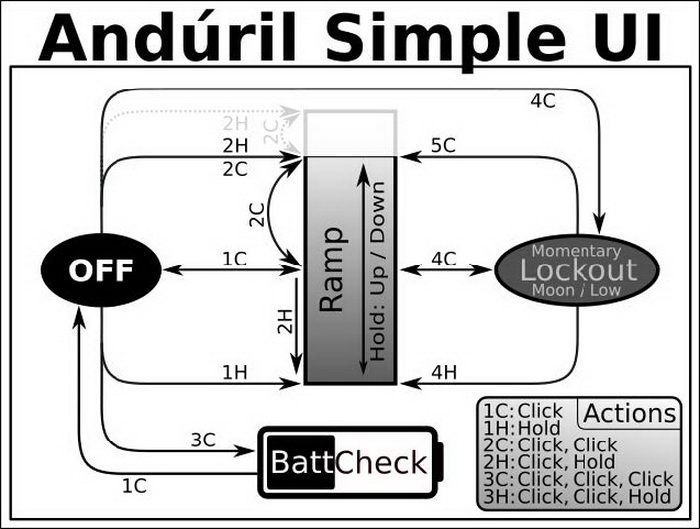
- Click once to turn the light on or off
- Hold the button while light is on to change brightness
- Release and hold to change brightness the other way
- Click and hold from off to turn on starting at lowest brightness, before ramping up
- Double click the button to turn on at highest brightness
- Battery check mode - three clicks - flashlight flashes battery voltage then turns off
More Advanced Functions
To access additional modes, switch to the Advanced UI . For pratical daily use, you do not have to access to the Advanced UI.
- Click ten times and hold the last click. The flashlight will flash once, indicating that it is now in advanced UI
- When in advanced UI, simply click ten times without holding the last click to transition back to simple UI.
Advanced UI has all the features of Simple UI, and increases brightness modes, allows access to all the features, and unlocks Turbo mode.
- There are two ways to access Turbo:
- From off, click twice and hold the second click - momentary turbo
- From on, click and hold to the top of the ramp. At the top of the ramp, double click to enter sustained turbo.
By default, the brightness ramp style is stepped 5-mode ramping.
- While the flashlight is on at any brightness level, click three times to switch from stepped ramping to smooth ramping.
- This ramp style is memorized and applies even when transitioning back to simple UI.
Electronic factory reset capability
There is 2 ways for factory reset, back to Simple UI by default
1.When the light is off, 13 clicks and hold , See blink signal , back to Simple UI
2. loose a bit the flashlight body, then hold the switch , re-connect the body to the head, see blink signal, back to Simple UI